Can You Paint Over Stained Wood Cabinets and Trim? Yes, Here's How
Yes, you can paint over stained wood cabinets, trim, doors, and furniture, and the result can look factory smooth. The secret is not the paint, it is the prep: clean off the oils, dull the old finish, lock it down with a bonding primer, then finish with two coats of quality 100% acrylic paint. Skip the prep and the new color peels within a year.
Can you paint over stained wood? Yes, you absolutely can, and in most Las Vegas homes it is one of the fastest, most affordable ways to modernize a room. Stained oak cabinets, honey-colored door casings, a dated banister, a tired dresser: a clean coat of paint turns any of them from plain and dated to custom looking in a weekend. The catch is that stained and sealed wood is built to repel moisture, which means it also wants to repel paint. Do the prep right and the finish lasts for years. Do it wrong and you will be scraping flakes off your cabinet doors by next summer.
This guide walks through exactly how to paint over stained wood on the surfaces you see every day inside the house, the cabinets, trim, doors, and built-ins, and where the process changes from one to the next.
Why stained wood is harder to paint than bare drywall
Stain soaks color into the wood, and almost every stained surface also carries a protective topcoat of polyurethane, varnish, or lacquer. That topcoat is slick and often waxy. Latex or acrylic paint brushed straight onto a layer of clear coat has nothing to grab, so it sits on the surface like water on a waxed car. Add the inevitable cooking oils on kitchen cabinets and the hand oils on a stair rail, and adhesion gets even worse.
There is a second problem unique to older stained wood and to knotty woods like pine and cedar: bleed-through. The natural tannins and the stain itself can leach up through a water-based primer and leave amber or pink streaks in a crisp white finish. The fix is to seal them in with the right primer, a stain-blocking shellac or oil-based formula rather than a water-based one. Both problems, poor adhesion and bleed-through, are solved at the primer step, which is why primer is the part you never skip.
How to paint over stained wood, step by step
The core process is the same whether you are tackling a single door or an entire kitchen. Adjust the scale, not the steps.
- Take everything apart and label it. Remove cabinet doors, drawer fronts, and all hardware. Number each piece with painter's tape so it goes back where it started. Painting doors flat on a table gives a smoother finish than fighting gravity on a vertical face.
- Degrease, then clean again. Wipe everything down with a degreaser, or a TSP substitute (TSP, short for trisodium phosphate, is a heavy-duty cleaner that cuts grease), especially in the kitchen. Oil residue is the number one reason a beautiful first coat lets go a few months later. Rinse and let it dry fully.
- Dull the finish. Lightly sand with 150 to 220 grit just until the glossy sheen is gone and the surface feels slightly toothy. You are not stripping the wood, you are giving the primer something to bite into. Wipe off all dust with a tack cloth, a slightly sticky cloth that grabs fine dust so it does not end up in your finish.
- Prime with a bonding or stain-blocking primer. This is the whole ballgame. A quality bonding primer grips the slick old finish, and a stain-blocking formula stops tannin bleed. We use Sherwin-Williams and Dunn-Edwards primers for this exact job. One solid coat is usually enough; spot-prime any knots a second time.
- Sand lightly between coats. After the primer dries, give it a quick sanding with fine sandpaper. Do the same after the first coat of color. This knocks down any rough spots or tiny raised fibers and leaves a glass-smooth finish.
- Finish with two coats of 100% acrylic paint. Acrylic enamel levels out brush marks and cures hard enough to stand up to daily handling. Two thin coats always beat one thick coat. Let it cure fully before you reattach doors and reload the cabinets.
Want the factory-smooth look without the weekend of sanding? Our crews spray cabinets and trim for a finish that rollers cannot match.
Explore interior painting in Las VegasCabinets, trim, doors, and furniture: what changes
Stained cabinets. Kitchen and bathroom cabinets see the most heat, moisture, and handling of anything in the house, so they demand the most prep. Degrease twice, prime thoroughly, and use a hard acrylic enamel. Spraying gives the smoothest result, which is why painting over stained wood cabinets is the project homeowners most often hand to a pro.
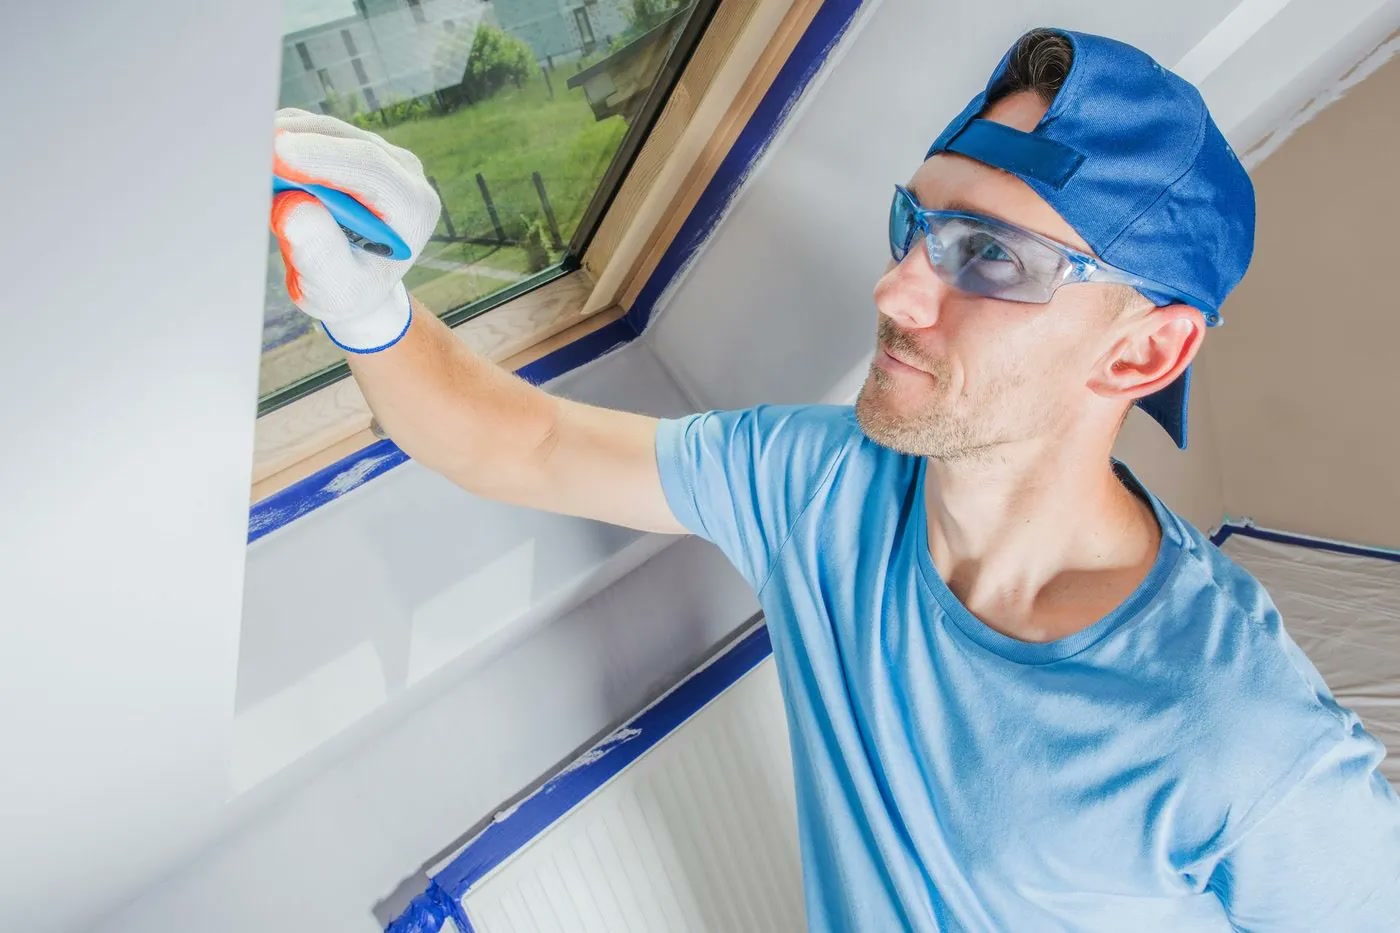
Trim, casings, and baseboards. Stained trim is more forgiving because it takes less abuse than cabinets. The same clean, scuff, prime, paint sequence applies. Caulk any gaps after priming so the finished line between trim and wall looks seamless.
Interior doors. A stained front door or slab door paints up beautifully once it is deglossed and primed. Lay it flat if you can, and work from the center out: paint the panels first (the flat center sections), then the rails (the horizontal frame pieces), and finally the stiles (the vertical sides). This order keeps each stroke meeting wet paint, so you never paint into a dry edge.
Furniture and built-ins. A stained dresser or bookshelf follows the identical steps. Because furniture gets touched and bumped, the bonding primer matters just as much here as it does on cabinets.
Does the desert climate change anything?
Inside a climate-controlled Las Vegas home, the air is dry and stable, which is actually friendly to a cured interior finish. The thing to watch is the dry heat speeding up your working time: paint and primer set faster here, so work in smaller sections and keep a wet edge. If you are painting exterior stained wood like a deck, railing, or fence, that is a different animal with its own prep, and we cover it in our guide to painting over exterior stained wood.
Four mistakes that make painted wood peel
Almost every failed cabinet or trim project traces back to one of these shortcuts:
- Skipping the degrease. Invisible cooking and hand oils are the most common reason a finish lets go. Clean first, every time.
- No sanding. Painting over a glossy topcoat with no scuff gives the primer nothing to grip. A two-minute pass with sandpaper prevents months of regret.
- Using wall paint as a primer. Standard wall paint is not a bonding primer and will not block tannin bleed. Use a real bonding or stain-blocking primer made for slick surfaces.
- Rushing the cure. Acrylic enamel feels dry in an hour but needs days to fully harden. Reload cabinets too soon and the doors stick and chip. Patience here is what separates a finish that lasts from one that does not.
Get those four right and a painted stained-wood surface holds up for many years of daily use.
When to do it yourself and when to call a painter
A single door, a small bookshelf, or one bathroom vanity is a very doable weekend project if you respect the prep. A full kitchen of stained cabinets is where most homeowners decide the labor, the dust, and the spray equipment are worth handing off. A professional crew degreases properly, sprays for a seamless finish, and gets the cabinets back on their hinges in days rather than weeks of evenings.
AllPro Painters has completed more than 10,000 projects across Las Vegas, Reno, and Southern Utah, and cabinet and trim refinishing is one of our most requested interior services. If you would rather skip the sanding, the team at AllPro Painters is happy to take a look.
Related articles
- Can you paint over exterior stained wood? Decks, fences, and siding
- Interior painting services in Las Vegas
- Las Vegas house painters: services and service areas
Ready to update your stained cabinets, trim, or doors? Book a free in-person estimate with AllPro Painters and we will walk your space, recommend the right prep and finish, and give you a clear, itemized quote. Get started with interior painting in Las Vegas.